
A while ago I saw a cute zippered bracelet for sale online. Of course it was a BAJILLION DOLLARS. so I thought I would just try to make my own. It was EASY and only cost about 8 bucks! So, below are the instructions to make one for your self.
What You Will Need (more or less)

-One zipper (found at most craft/sewing stores and can be any length but I would stick to about 7inches)
-Around 8 connector rings (can be the same or different size. Its also best to have them match the color of the zipper.)
-One lobster claw jewelry closure (also best when it matches the zipper)
-Needle and thread that is the same color as zipper fabric (I used black)
-A lighter (WARNING: FIRE IS DANGEROUS AND HURTS LIKE A BITCH! BE CAREFUL... If you need an adult, find one.)
-Scissors (the sharper the better)
LETS GET READY TO RUMBLE!
step one:

Cut the extra fabric off both ends of the zipper.
Step two:

Cut down the fabric of the zipper on each side. This will roughly determine the width of your bracelet. It's OK if its messy... we are about to fix that.
Step three:

Again... FIRE IS HOT. BE CAREFUL.
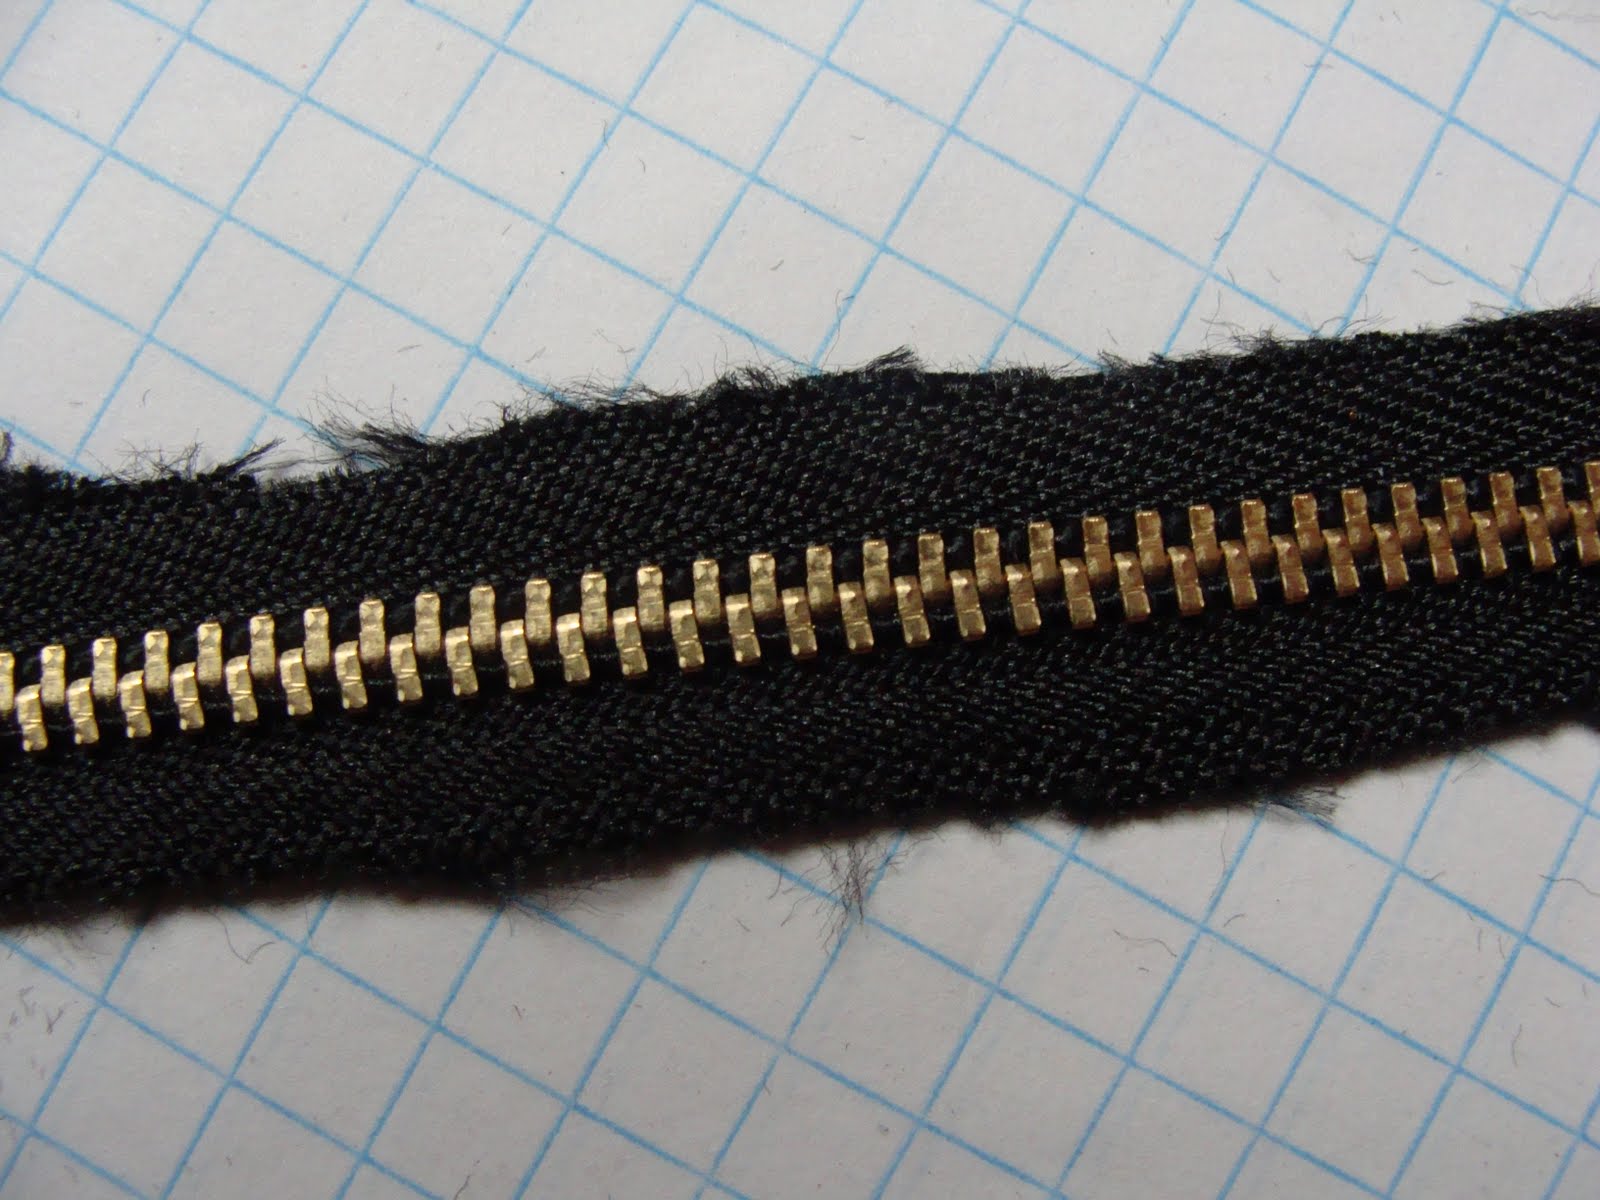
This part can be tricky. You now have to burn the edges of the zipper fabric. The reason being that the fabric will fray if it doesn't get sealed some how. Hence the flames. You really don't even have to touch the flame to the fabric just get it close enough that the fibers start to melt. Then run it up and down the length of the zipper. Repeat on the other side. Make sure you get the ends too! It should end up a little something like this:

Step four:

You're going to sew the two smaller connector circle thingies to the end of the zipper that DOES NOT have the zipper pull.

Like sew... (hahah)
Step five
Reaaaalll easy:

Take the bigger connecter from before, and connect it to the two smaller ones.
THEN... And this is optional, add more connectors!

Step six:

Add the lobster claw to the end!
AND YOU NOW HAVE A BRACELET.


ENJOY!
way cool!
ReplyDeleteYou're a creative one! ;o)
ReplyDeleteEasy to follow instructions with great pictures. Thanks much! I'm totally going to try to make one.
Thank you for sharing this. What a great idea! I am going take this idea a couple steps further by sewing lace and ruffles to each side of the zipper, add some chains and maybe some other embellishments and make a zippered cuff. Thanks again fo rthe inspiration!
ReplyDeleteOne of the better zipper bracelet tutorials that I've seen. Well done and thank you.
ReplyDelete